
Find and arrange notes
Open notes in tabs and panels, go back and forward in each tab, and find notes again with search, tags, the task list, the calendar and the graph.
Each note opens in a tab, and you can split the Notes window into panels. Search, tags, the task list, the calendar and the graph help you find a note again. Notes is an experiment, so first turn on Notes in Settings → Experimentation, as Turn on Notes describes.
The first time you open Notes, it shows one panel with a Home tab, which is Notes Home.
- Click a note in the sidebar, or a link inside a note, and it opens in a new tab. If it’s already open, Oleafly switches to its tab. A note is never open in two tabs at once.
- New tab (+, after the last tab) opens Notes Home in that panel.
- To close a tab, click its ×, middle-click it, or focus it and press Delete or Backspace.
- With a tab focused, ← and → move to the previous and next tab. Home and End go to the first and last.
Notes opens with the tabs and panels you left, and each tab keeps its history.
Split and dock panels
Section titled “Split and dock panels”Drag a tab by its title to move it. A highlight shows where it will land:
- Over a row of tabs, it slots in at that spot.
- Over the middle of a panel, it joins that panel’s tabs.
- Near the left, right, top or bottom edge of a panel, it docks on that side as a new panel.
You can’t split a panel by dragging its only tab.
Drag the divider between two panels to resize them. Double-click a divider to give both sides the same space. With a divider focused, the arrow keys move it in small steps, and Shift with an arrow key moves it further.
Once there are two or more panels, each one has a Maximize button that fills the Notes window with that panel. Restore brings the others back. When a panel has focus, F6 or Ctrl+Tab (Control on macOS too) moves to the next panel. Add Shift to go back.
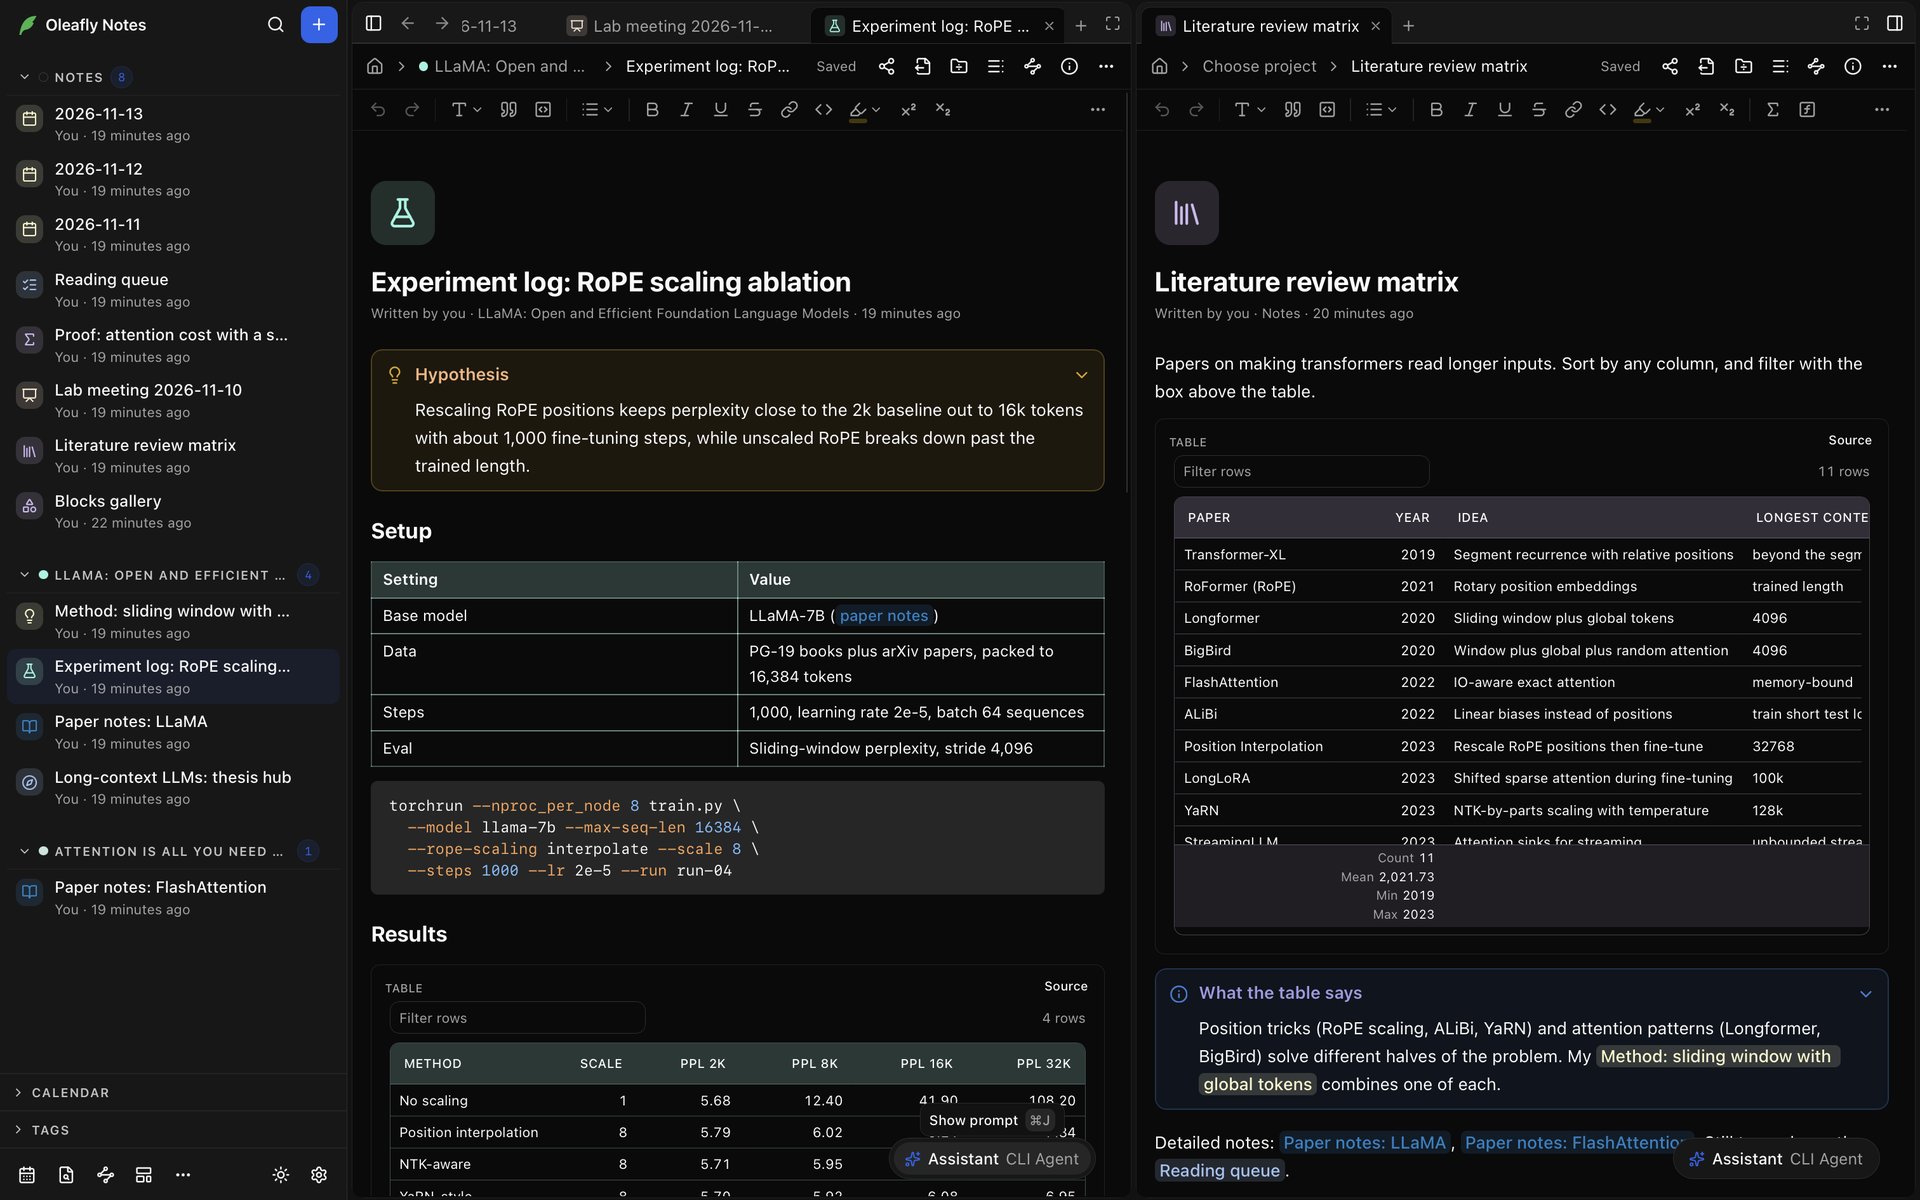
Notes you open from the sidebar or from a link go to the main panel, the one Notes started with. When the last tab in any other panel closes, that panel closes too. The main panel stays and shows a start page with Home, New note, templates and the notes you edited last. While other panels are open, its Close panel button removes it, and another panel becomes the main one.
Back and Forward
Section titled “Back and Forward”Each tab has its own history. Back and Forward, at the top left of the Notes window beside Hide sidebar, step through the history of the tab you’re in. Going back to a note puts you where you had scrolled to.
| macOS | Windows / Linux | Action |
|---|---|---|
| ⌘[ | Alt+← | Back |
| ⌘] | Alt+→ | Forward |
The back and forward buttons on a mouse work too. Right-click Back or Forward to list the places in that direction, then pick one to jump straight to it.
A tab adds a place to its history when it shows something new in the same tab:
- a note you pick on Notes Home or in Go to note
- a note you click in the local graph
- Notes Home, when you click the house at the start of a note’s breadcrumb (Notes Home)
- another Notes Home tab: My notes, Favorites, Tasks or Attachments
Each tab keeps its last 50 places. Notes you have deleted are skipped.
Side panels
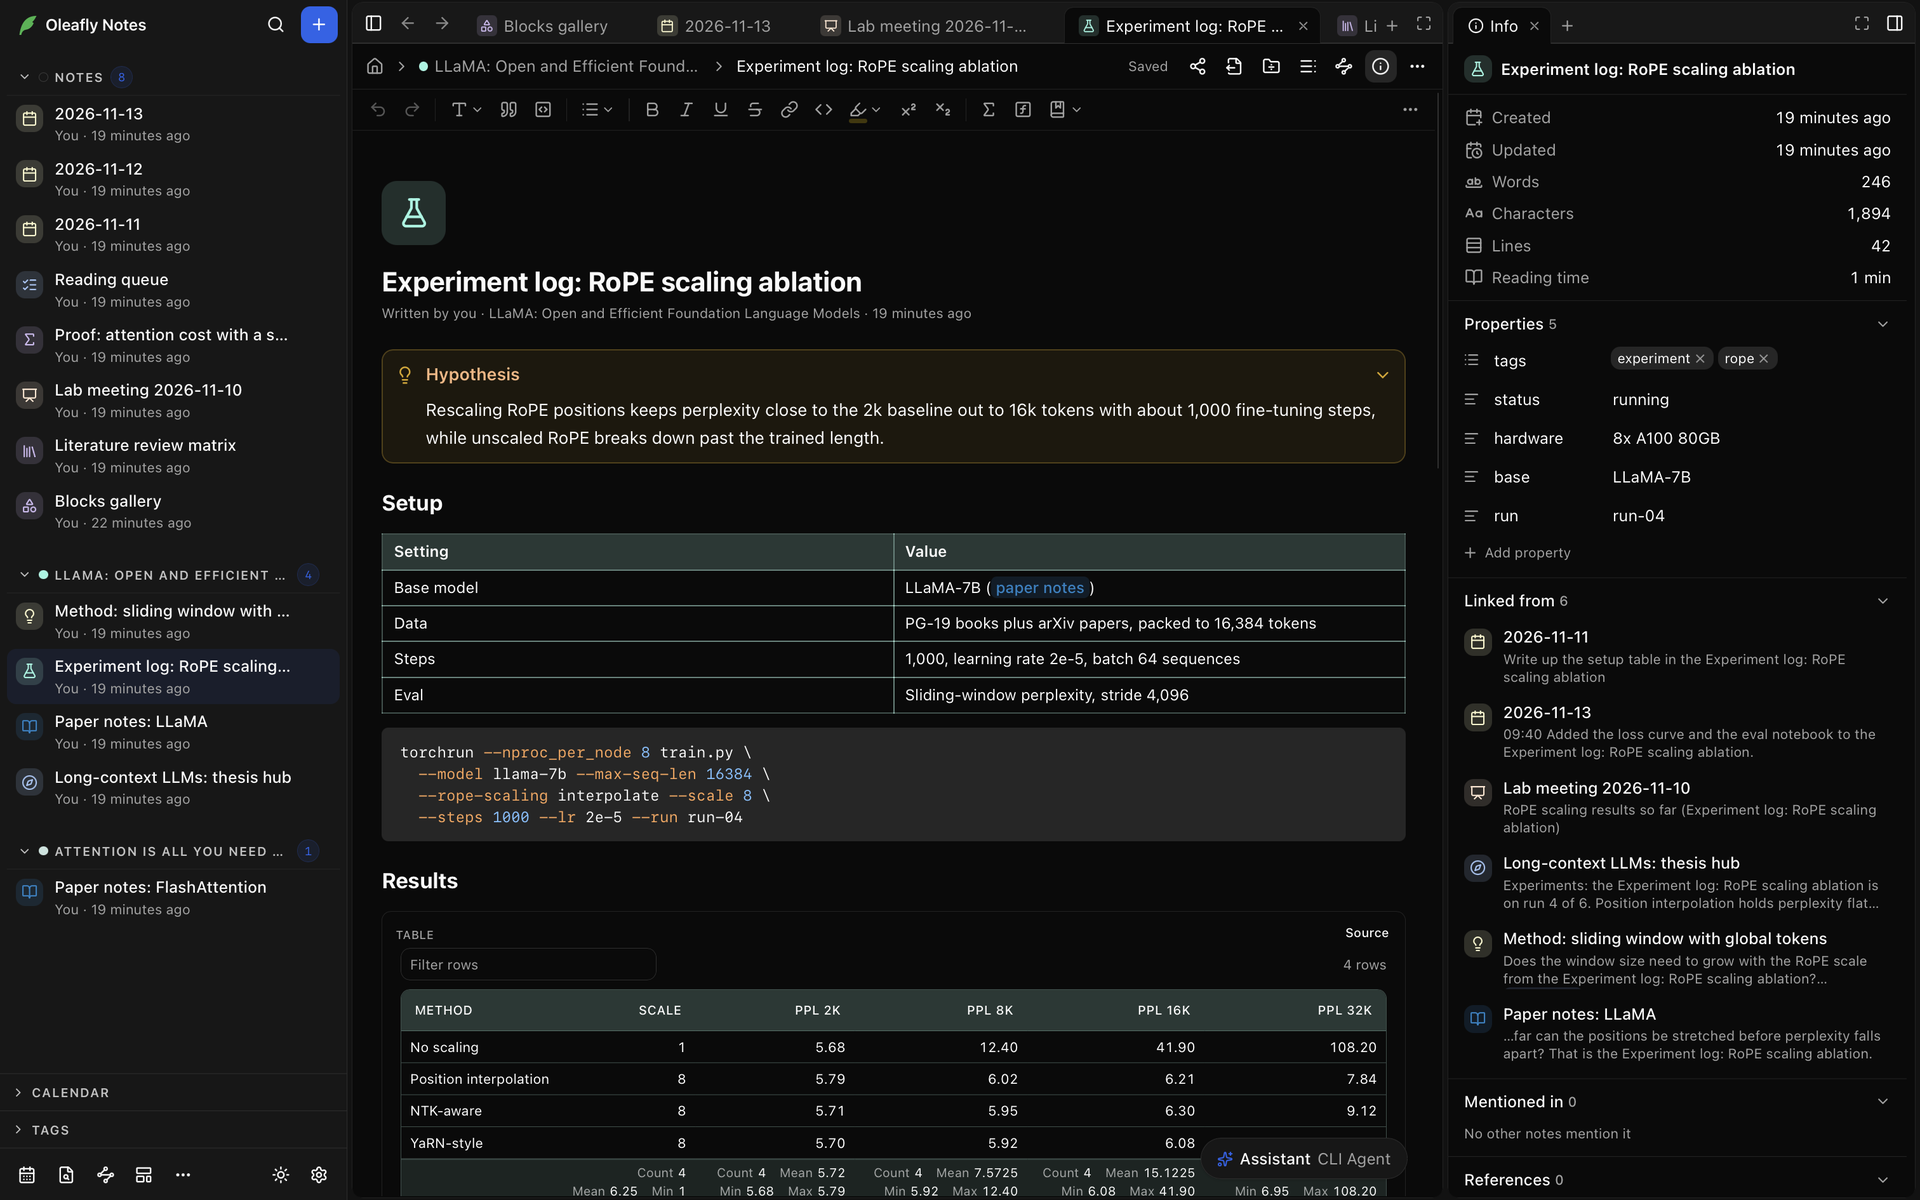
Section titled “Side panels”The buttons at the right of a note’s header open panels beside the note:
- Show outline opens the outline.
- Show local graph opens the local graph.
- Note info shows the note’s dates, counts and reading time, its properties, the notes it’s Linked from and Mentioned in, its citations, dead links and attached files. The button is there while Note info is set to Side panel in Settings → Appearance → Notes.
They share one panel to the right of the note, as tabs, and follow the note you’re working in. Click a button again (Hide outline, Hide local graph) to close its panel. You can drag these tabs like any other.
The sidebar
Section titled “The sidebar”At the top of the sidebar, Oleafly Notes closes Notes and takes you back to where you were: your projects, or the project you had open. Search notes opens search. It’s called Search notes and artifacts while the Research tasks experiment is also on. New note makes a new note. Hide sidebar, at the top left of the Notes window, hides the sidebar, and Show sidebar brings it back.
The list groups notes by the project each one is linked to. Notes with no project sit under Notes. Click a group’s name to fold it. Each row shows when the note last changed, and notes an agent wrote carry the agent’s name. Right-click a note, or use its More button, for actions such as Add to favorites, Rename, Link to project and Delete.
Below the list are two sections you can unfold, Calendar and Tags. The footer has Today’s note, Go to note, Graph view, New from template and More, which holds Import Markdown, Export as Markdown folder and Dead links. At the right end of the footer, a button switches between the light and dark themes, and Settings opens Notes appearance.
When Research tasks is on in Settings → Experimentation, the list also shows the files that research tasks made, and search covers them. Tags gains chips for Notes, Figures, Reports, Data and Notebooks.
Link a note to a project
Section titled “Link a note to a project”Right-click a note and choose Link to project to group it under a project. See Link a note to a project.
Search notes
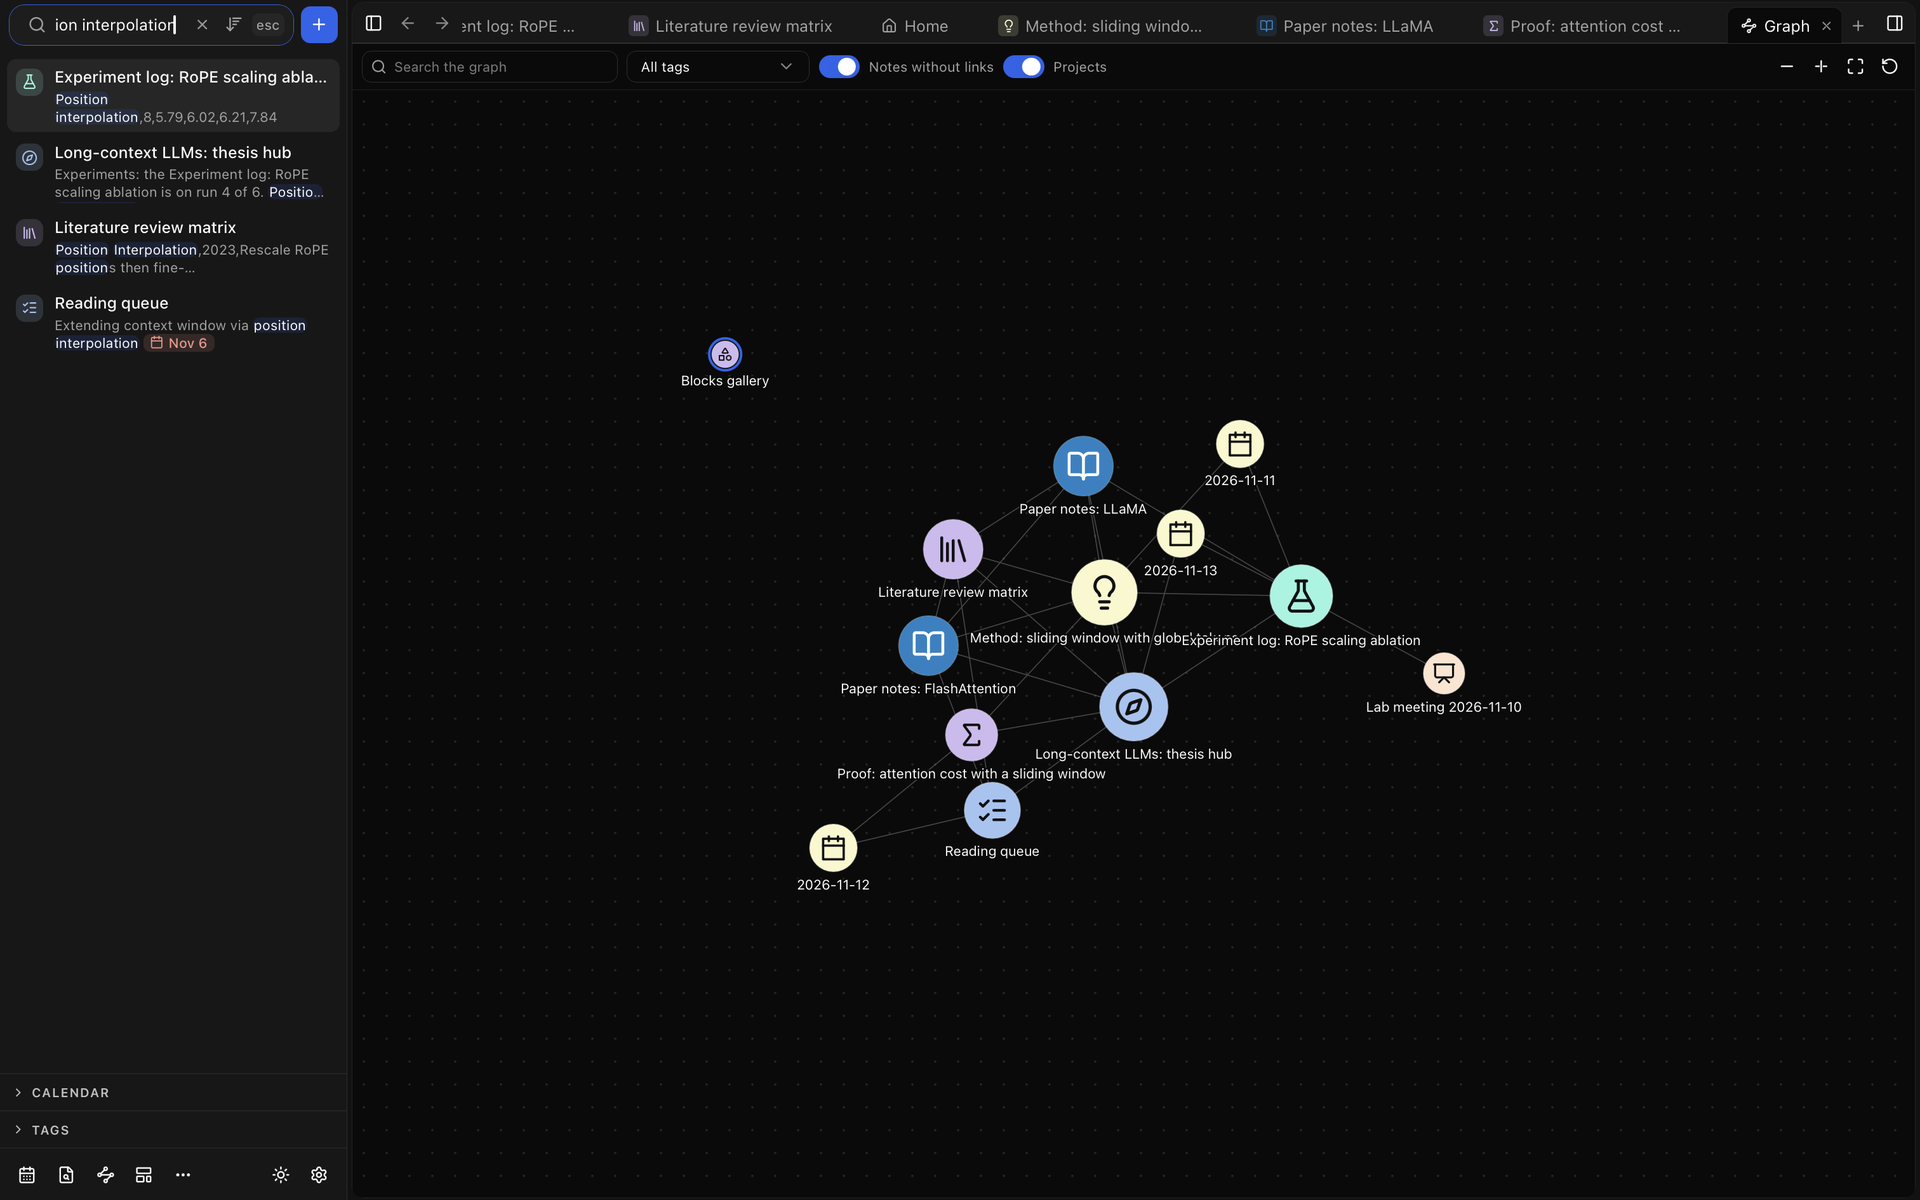
Section titled “Search notes”Click Search notes at the top of the sidebar, or press ⌘⌥F (Ctrl+Shift+A on Windows and Linux). Plain words search note titles, aliases and the full text of every note. Each match shows a line of its text. Use ↑ and ↓ to move through the results and Enter to open one. Esc clears the search and closes it.
Qualifiers narrow the results:
| Qualifier | Example | Matches |
|---|---|---|
tag: | tag:lab | Notes tagged #lab, or a tag under it such as #lab/2024 |
title: | title:protocol | Words in the title or an alias |
project: | project:thesis | Notes linked to that project |
author: | author:you, author:agent | Notes you wrote, or notes an agent wrote |
is: | is:favorite | Notes in Favorites |
kind: | kind:figure | One kind of item: note, or, with research tasks on, figure, report, data or notebook |
Combine terms as in the project search on Oleafly’s home screen: a space means AND, and OR, parentheses, commas and a leading - work too. See Combine terms. The box suggests qualifiers and their values as you type. Once there’s text in it, the search mode button beside it switches between Best match, Exact text, Regular expression and Fuzzy.
The search box on Notes Home takes the same terms. To search notes from anywhere in Oleafly, press ⌘⇧F (Ctrl+Shift+F). With Notes on, the omnibar lists matching notes under Notes, and /notes limits it to notes and the blocks inside them. Pick a result to open Notes at that note, or at the matching block.
Go to note
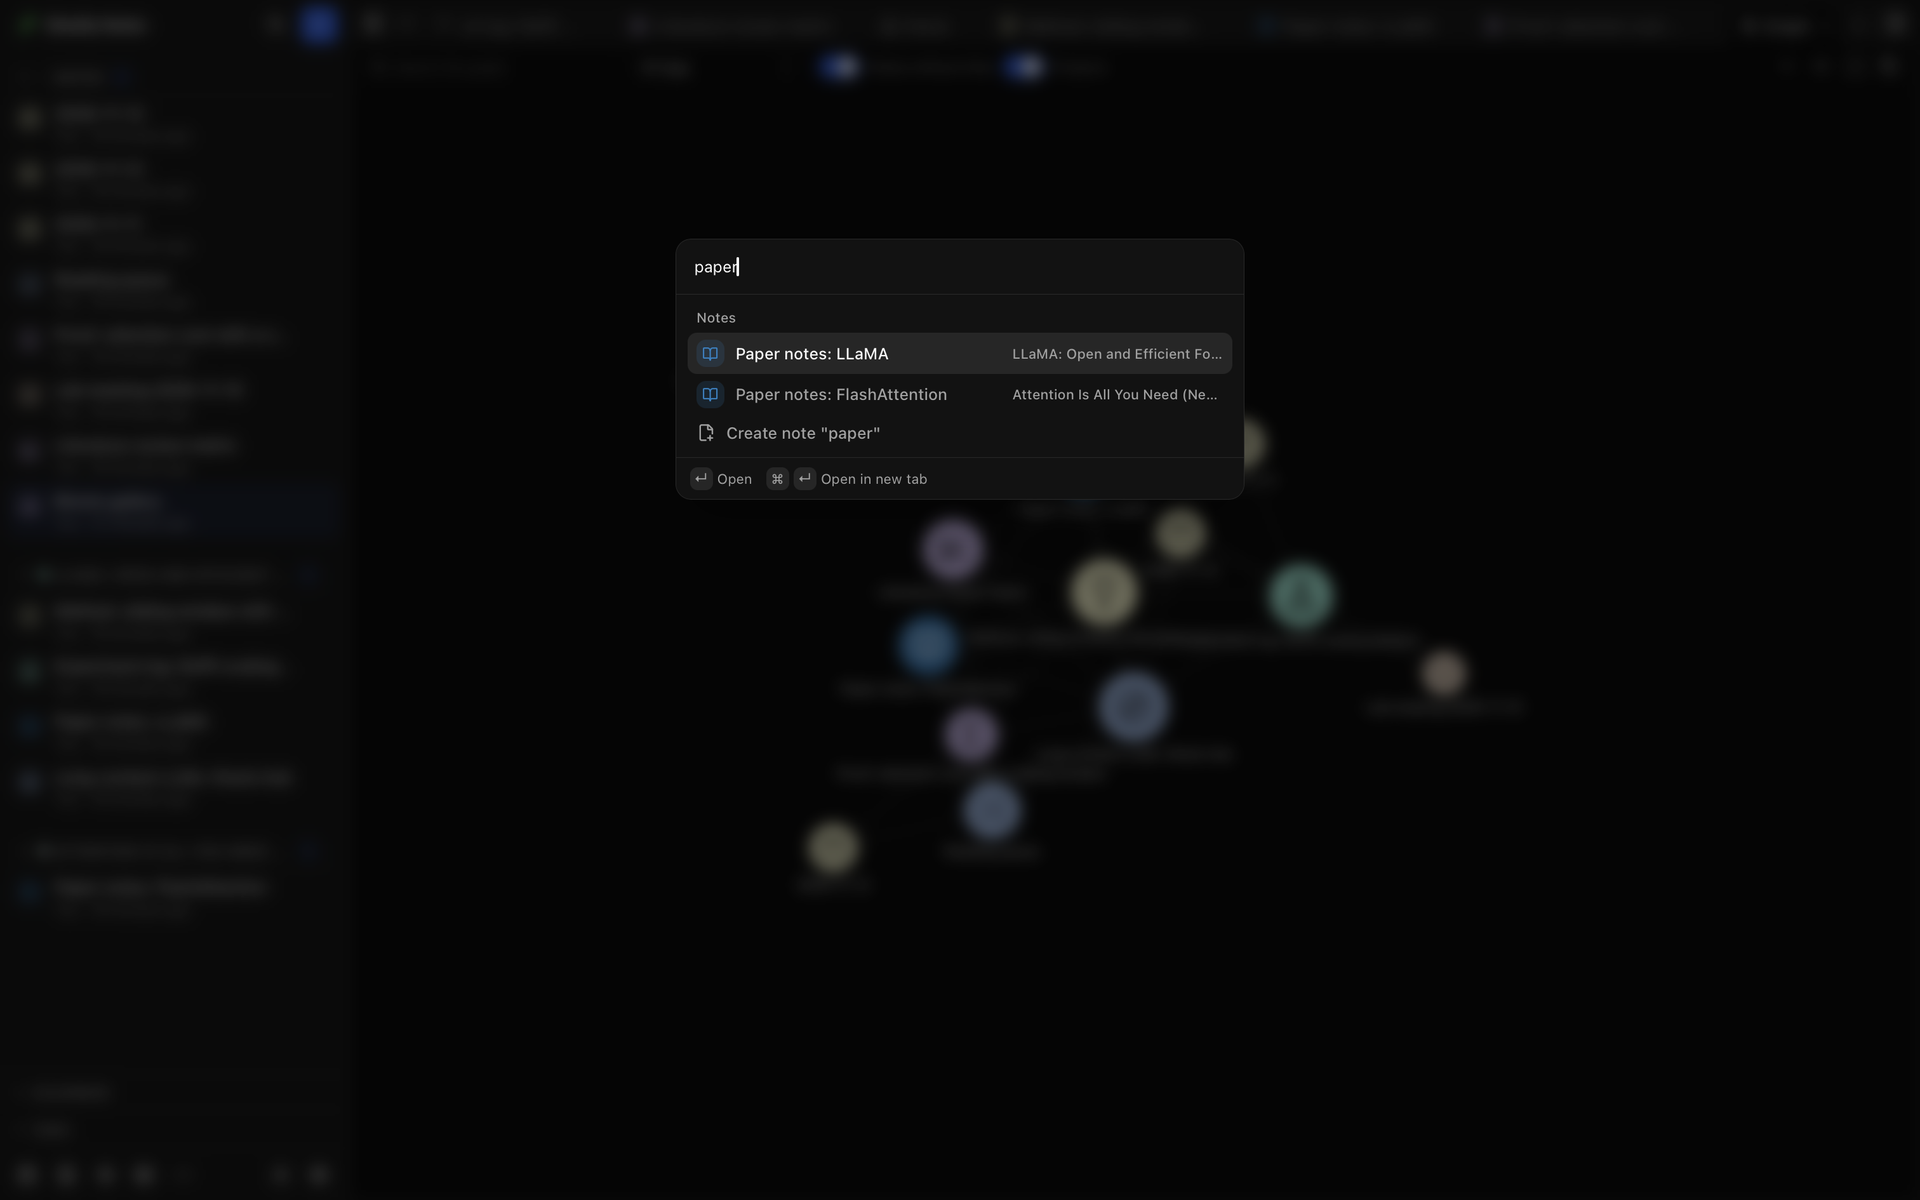
Section titled “Go to note”Press ⌘O (Ctrl+O), or choose Go to note in the sidebar footer, and type part of a note’s title or one of its aliases. With the box empty, the notes you opened most recently come first, under Recent.
- Enter opens the note in the tab you’re in.
- ⌘↵ (Ctrl+Enter) opens it in a new tab.
- If no note has that exact title, Create note ”…” makes one.
- When your words match a reference, From a reference lists it. Picking it opens your note on that paper, or starts one.
Type # and a name anywhere in a note to tag it. Oleafly suggests the tags you already use. A tags property works too. A slash nests one tag under another, as in #lab/2024.
Click a tag in a note to see every note with that tag. The sidebar opens with the tag as its filter.
Filter by tag
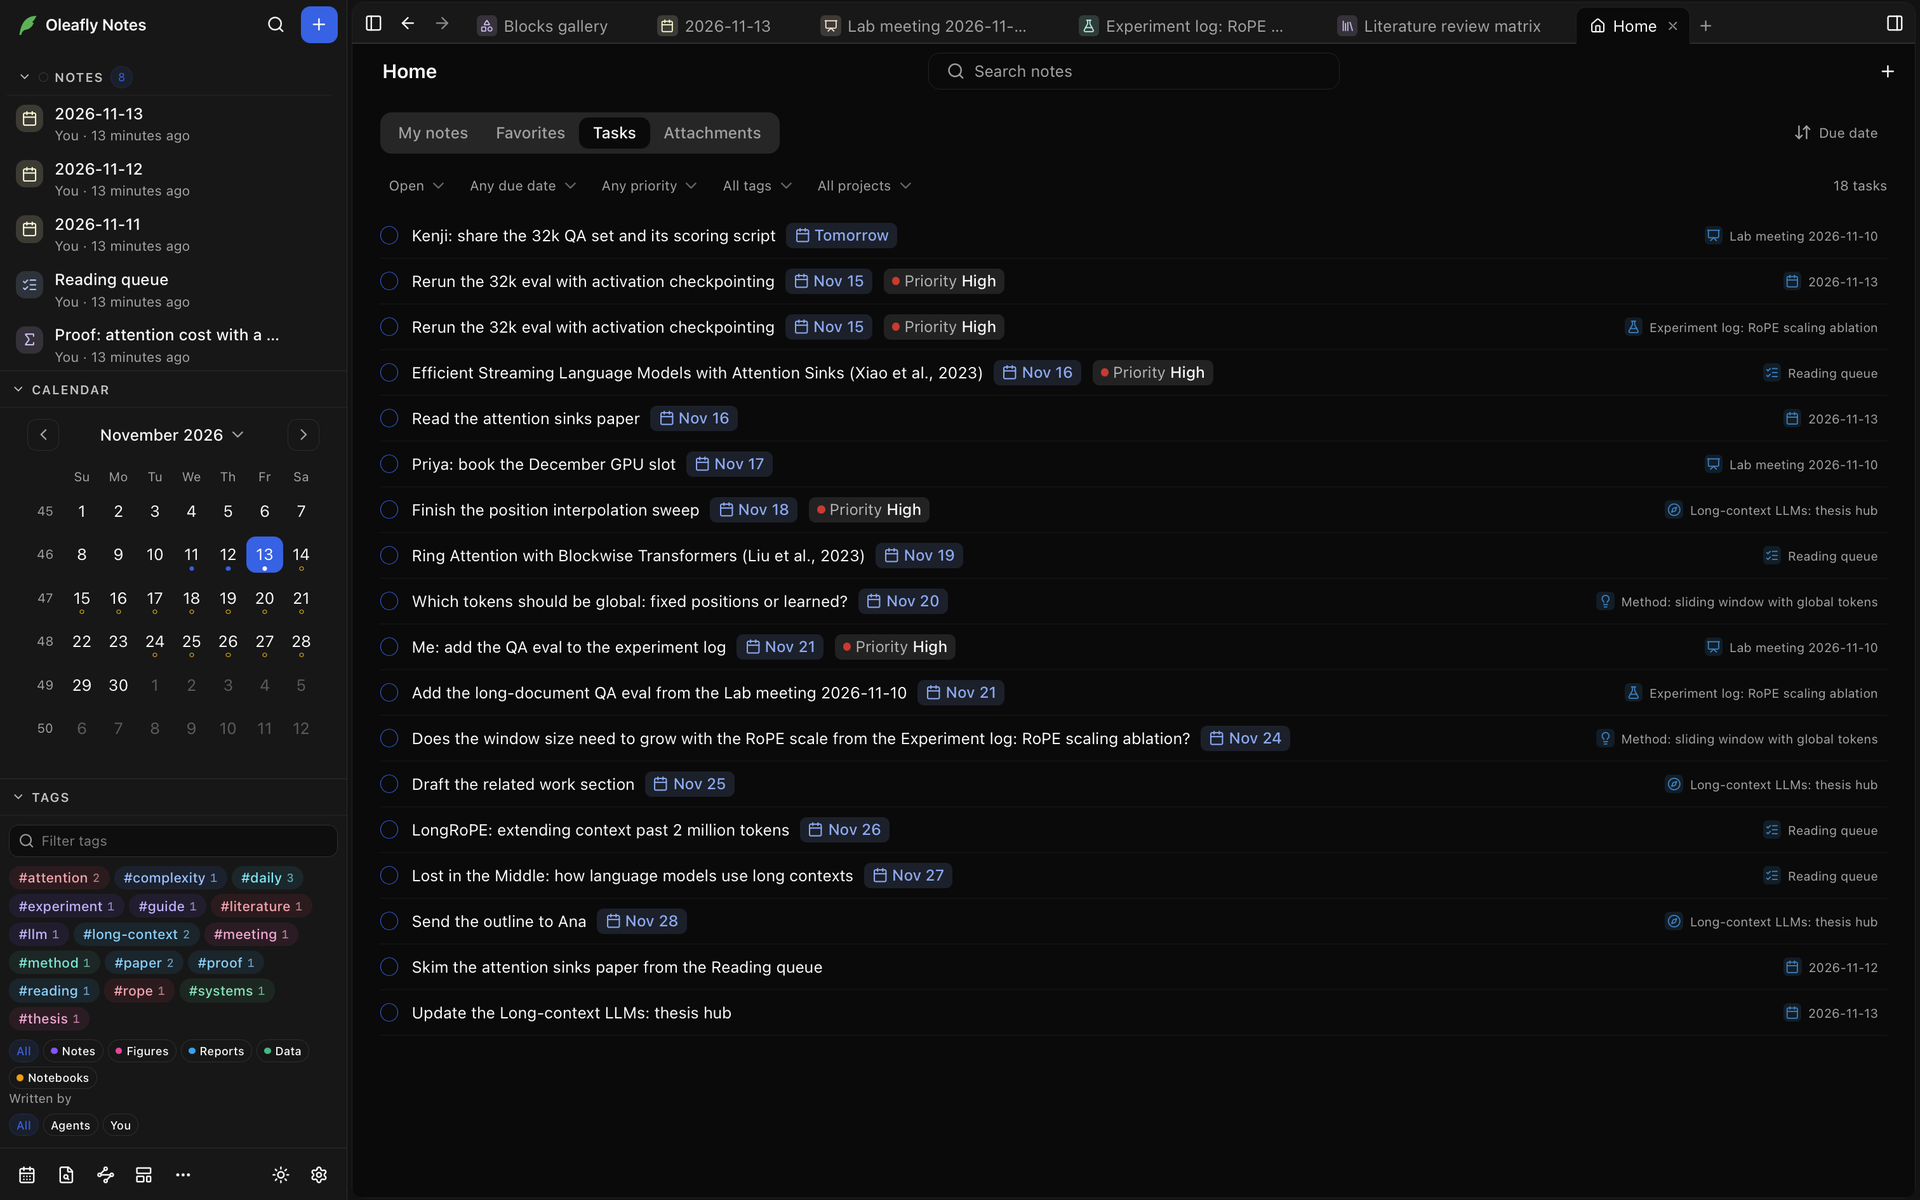
Section titled “Filter by tag”Unfold Tags at the bottom of the sidebar. It lists your tags, each with a count. Type in Filter tags to narrow the list, and click a tag to filter by it. Click it again, or click the tag chip under the search box, to stop.
The filter is a tag: term in the search box, so you can add words to it. A tag includes the tags nested under it. Each note in the results lists the blocks that carry the tag. Click one to jump to it.
Written by narrows the list to notes by Agents or by You. Clear filters removes every filter.
Tags also filter the graph, the task list and the table view on Notes Home.
Notes Home
Section titled “Notes Home”Notes Home lists your notes. Click a note on Notes Home to open it in the same tab, and Back returns to the list. Open in new tab is in each note’s menu.
Notes Home has four tabs: My notes (all your notes), Favorites, Tasks and Attachments.
The view buttons switch My notes and Favorites between List view, Grid view and Table view. Sort by orders the list and grid by Last opened, Last edited, Date created or Title. In list view, the column headers sort too.
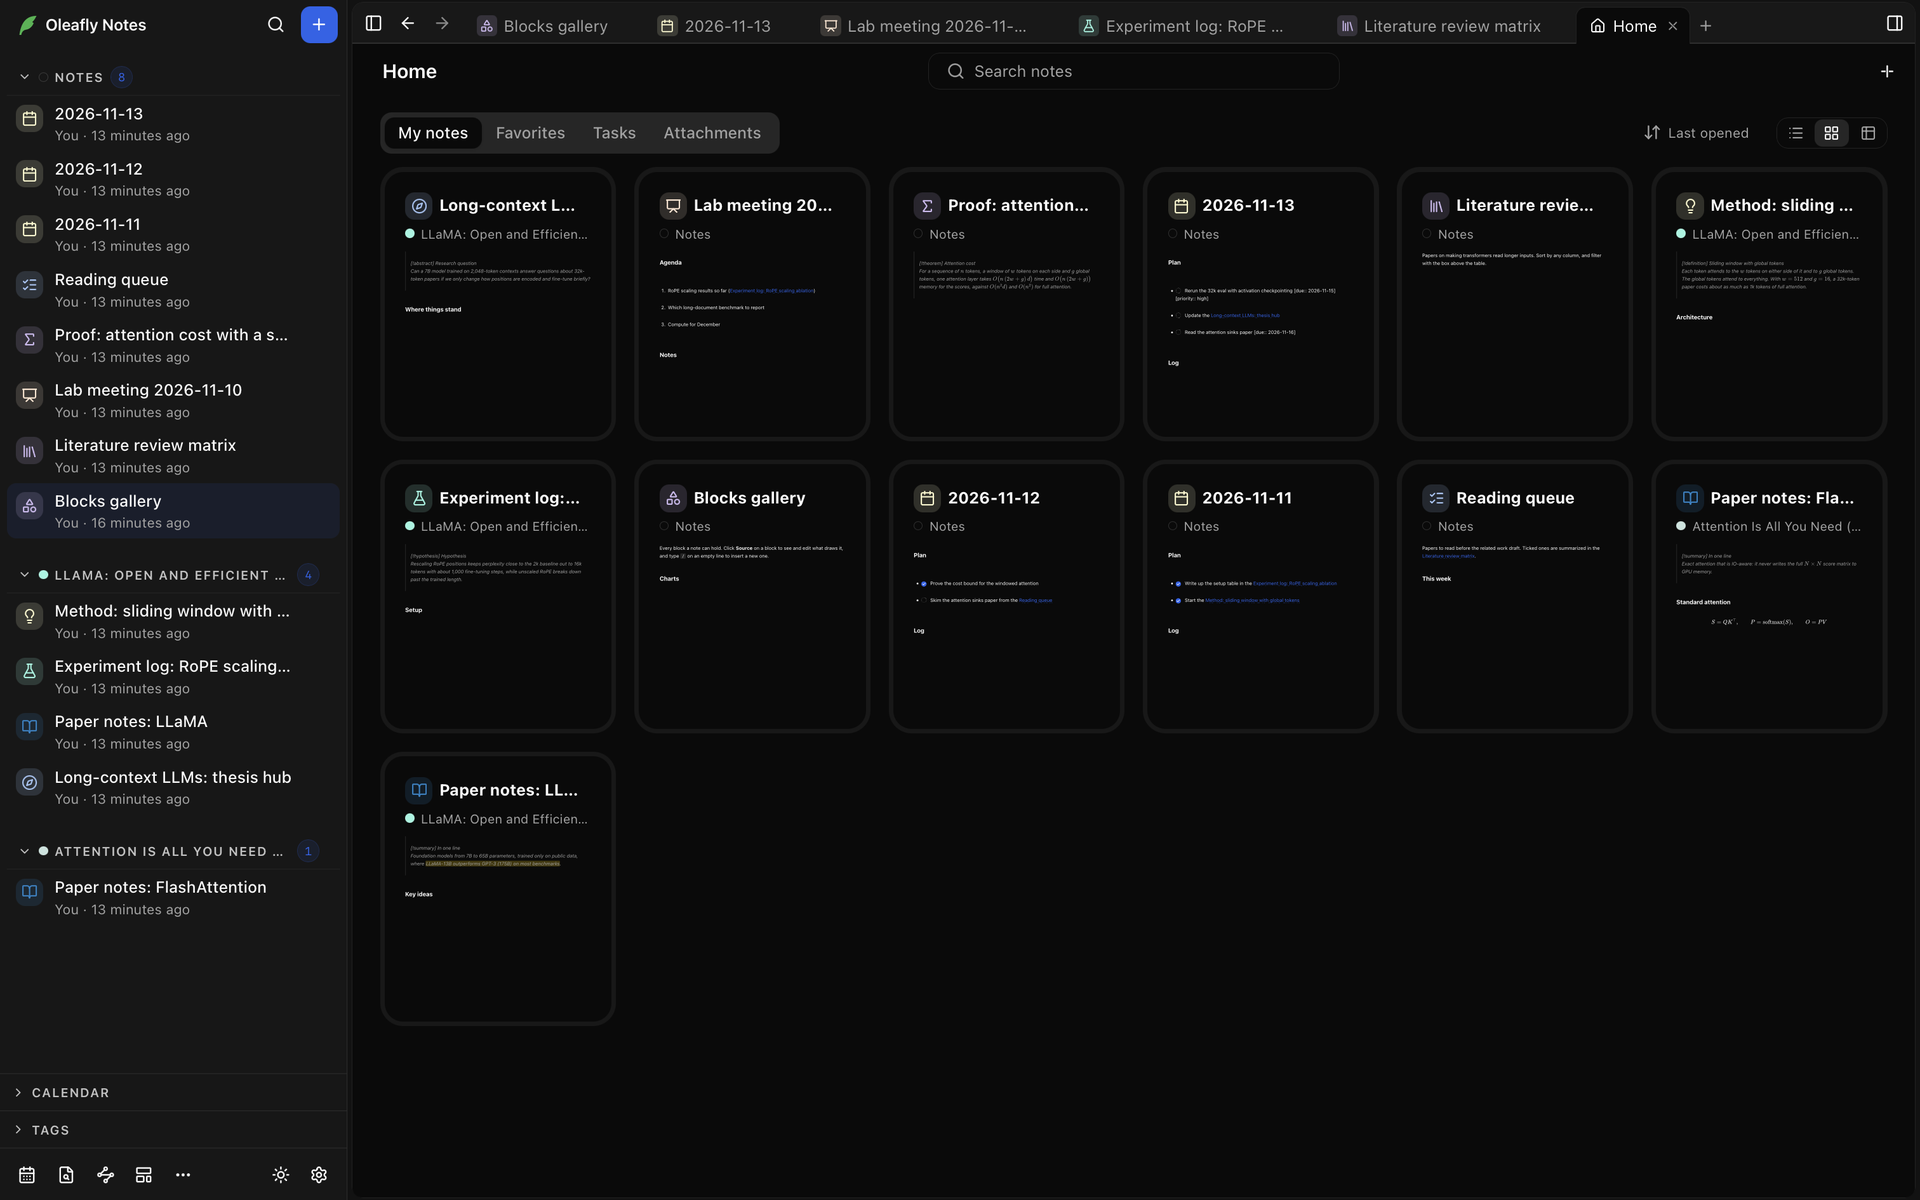
Table view has Title, Tags, Status, Project and Last edited columns. Add or remove columns adds a column for any other property your notes use. Click a column header to sort by it, or a tag to filter Notes Home by that tag. ⌘-click a title (Ctrl-click on Windows and Linux) to open the note in a new tab.
Favorites
Section titled “Favorites”To add a note to Favorites, click the bookmark on its card or row (Add to favorites), use its menu, or press ⌘⌥B (Ctrl+Shift+Y) in the open note. The same ways take it out again.
A bullet list item with a checkbox is a task, written - [ ] while it’s open and - [x] once it’s done. The Tasks tab of Notes Home collects the tasks from all your personal notes, each with its note’s name beside it. Type @ in a task to give it a Due date or a Priority.
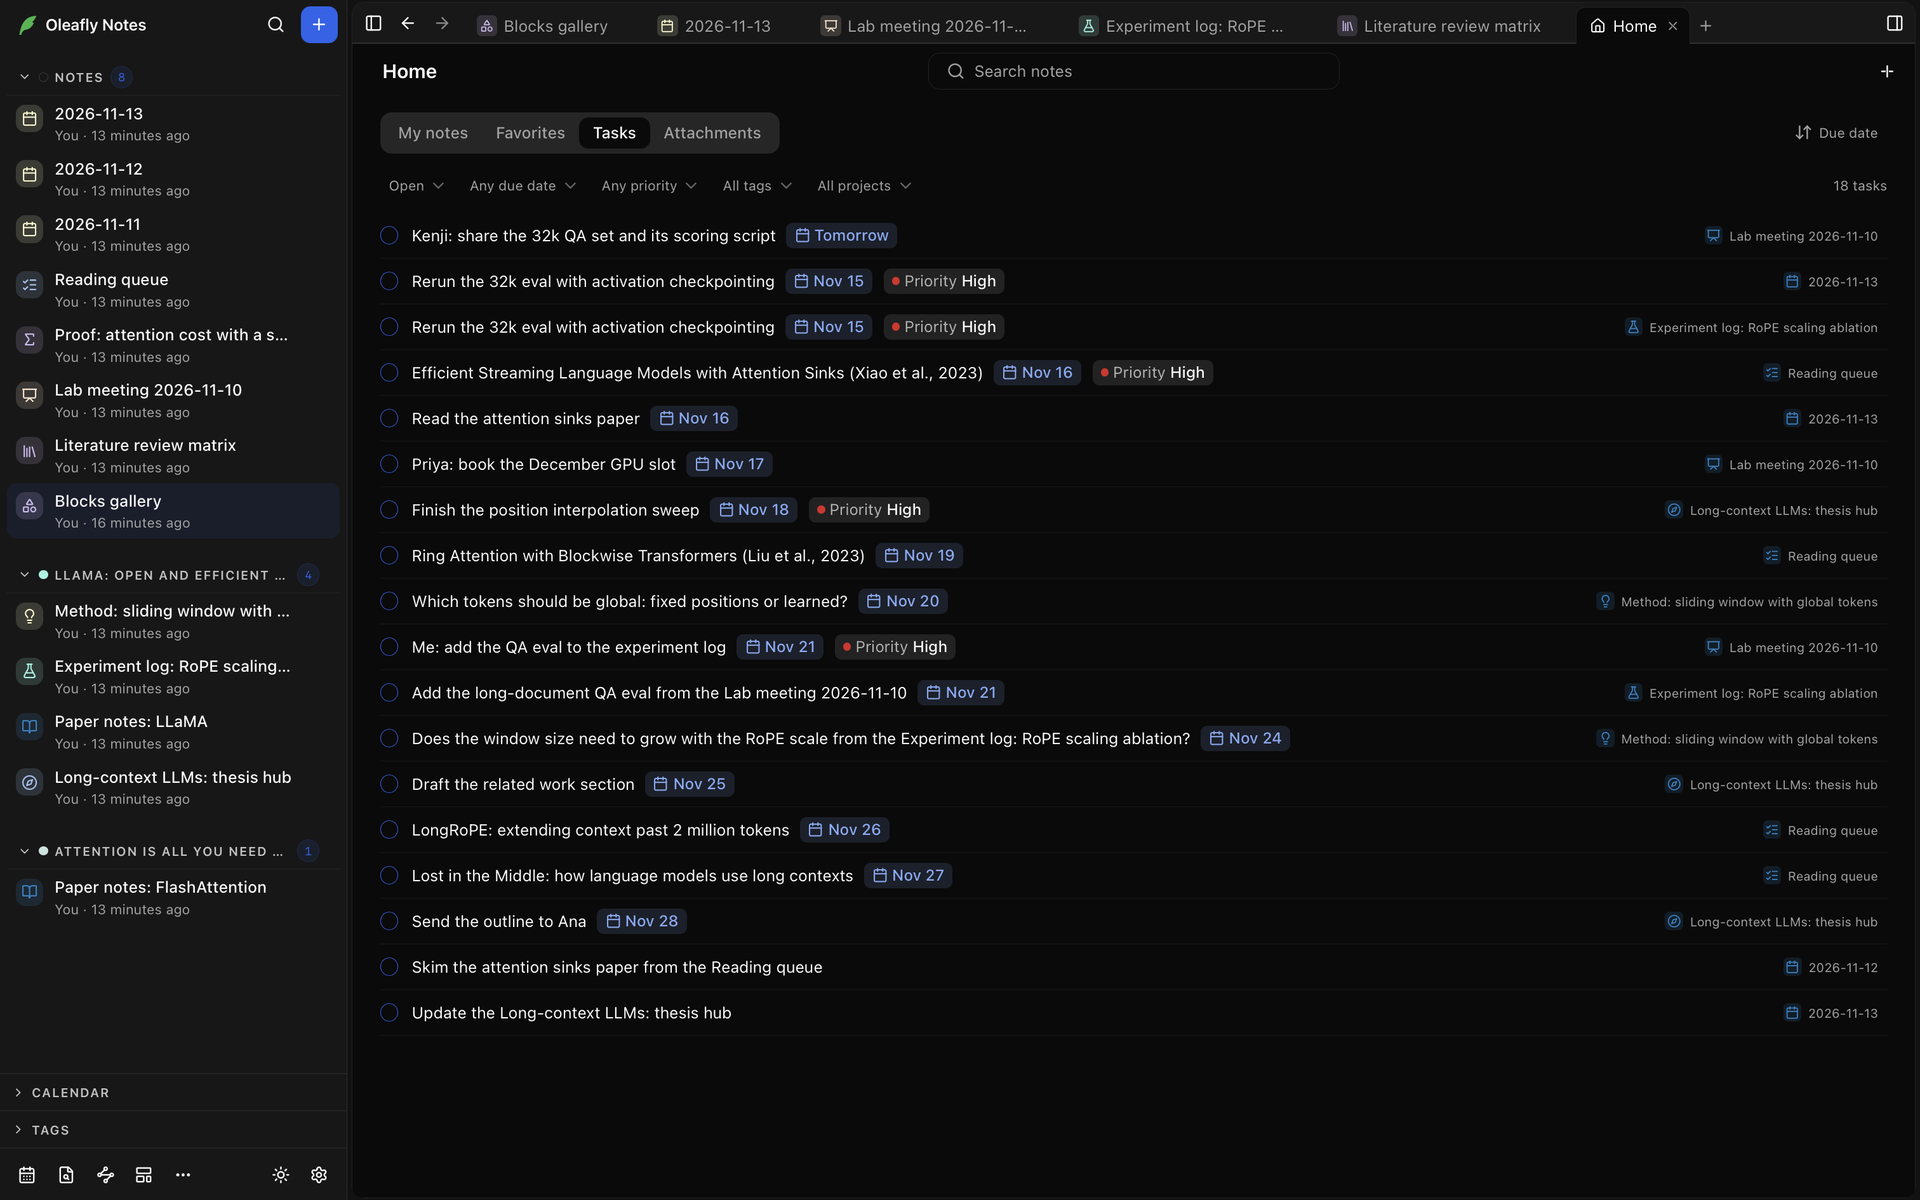
Tick a task’s box to mark it done in its note. Click the note’s name to open the note. The menus at the top filter the list:
| Default choice | Other choices |
|---|---|
| Open | Done, Open and done |
| Any due date | Overdue, Due today, Due in the next 7 days, No due date |
| Any priority | High priority, Medium priority, Low priority, No priority |
| All tags | A tag on the task or on its note |
| All projects | The project the task’s note is linked to |
A task can have one of five priorities, from Highest to Lowest. High priority also lists Highest tasks, and Low priority also lists Lowest ones. The tag and project menus appear once your tasks have tags or linked projects. Clear filters resets them all. The sort button orders tasks by Due date or Priority, and the search box at the top of Notes Home narrows the list to tasks whose text or note title has your words.
Attachments
Section titled “Attachments”The Attachments tab of Notes Home lists the files in your notes, with their sizes. The All types menu narrows it to Images, Audio, Video, PDFs or Other. The All files menu has Not used, for files their note no longer refers to. Beside each file, Show in folder opens the folder that holds it, Copy link copies a Markdown link to it, and the note’s name opens the note at that file.
Calendar
Section titled “Calendar”Unfold Calendar in the sidebar.
- A dot under a day means it has a daily note. A ring means tasks that aren’t done are due that day.
- Click a day to open its daily note, or create it.
- Click a week number to open or create that week’s weekly note.
- Click the month name to pick another month. The same menu has Open monthly note or Create monthly note. While you look at another month, it also has Today.
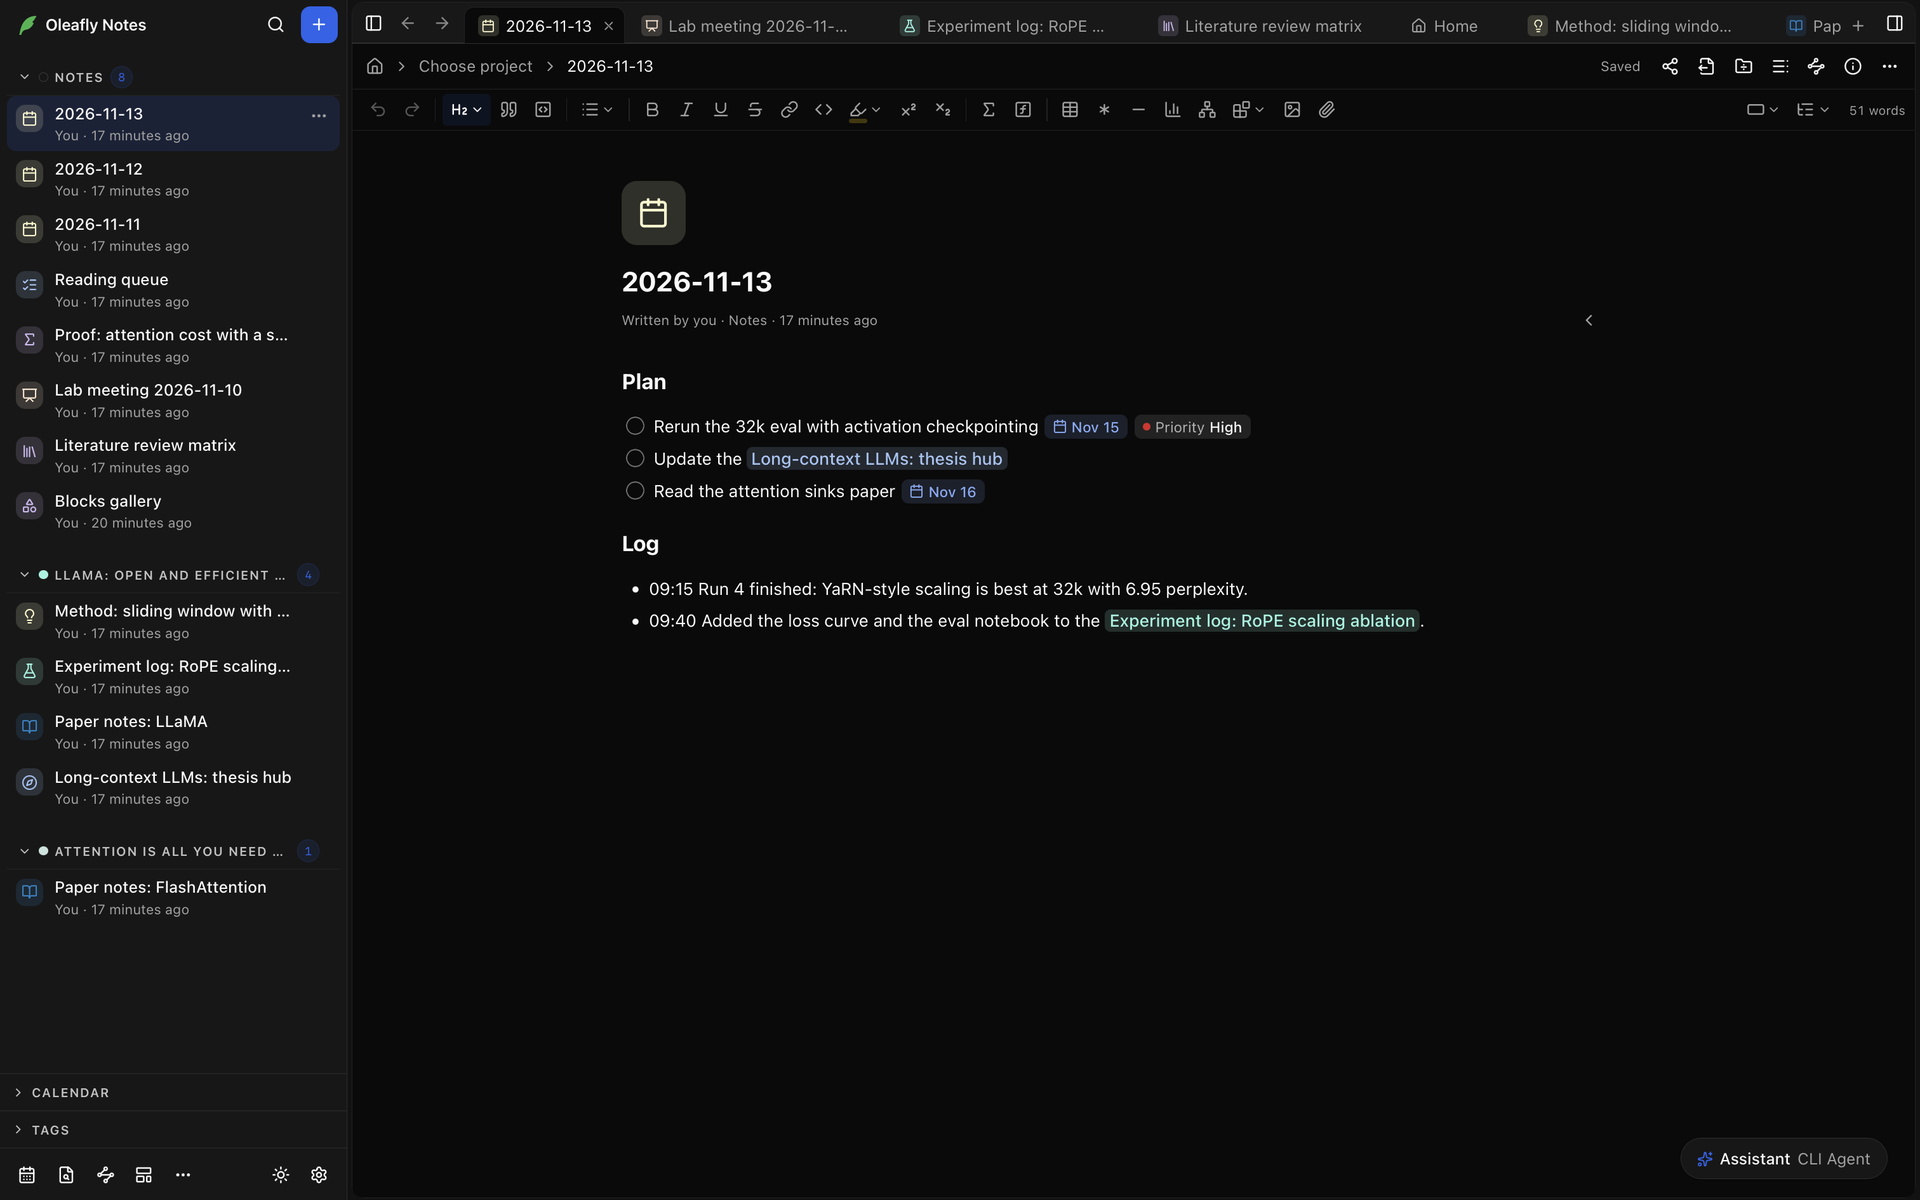
Today’s note in the sidebar footer, or ⌘⇧D (Ctrl+Shift+D), opens today’s daily note and creates it the first time. In a daily note, two arrows at the right end of the line below the title go to your daily notes before and after it. Each arrow’s tooltip names the note it opens, such as Previous daily note: 2026-11-11.
Set these up in Settings → Appearance → Notes, under Daily, weekly and monthly notes. Each kind has a switch, a Title format, a Template and a Tag:
| Kind | Title format | Template | Tag |
|---|---|---|---|
| Daily notes | YYYY-MM-DD | Daily note | daily |
| Weekly notes | GGGG-[W]WW | Weekly research log | weekly |
| Monthly notes | YYYY-MM | Blank note | monthly |
All three start on. With a kind turned off, the calendar still opens the notes of that kind you have, but doesn’t create new ones. Notes you already have keep their titles when you change a format, so change it before you start using it.
Week starts on sets the first column of the calendar. Choose Monday, Sunday or Saturday, or keep the region default. Its label names your region’s first day, for example Region default (Monday). Week numbers count from that day, and with Monday they are ISO week numbers.
Choose Graph view in the sidebar footer, or press ⌘⇧G (Ctrl+Shift+G), to open a Graph tab. Each note is a dot, and a line joins two notes when one links to the other. With Projects on, the projects your notes link to appear as dots too. Click a note to open it, or a project to open the project.
- Search the graph highlights the notes whose title or tags match.
- Filter by tag keeps the notes with one tag. All tags shows them all again.
- Notes without links shows or hides the notes with no links.
- Zoom out, Zoom in and Fit to view frame the graph. Reset layout lays it out from scratch.
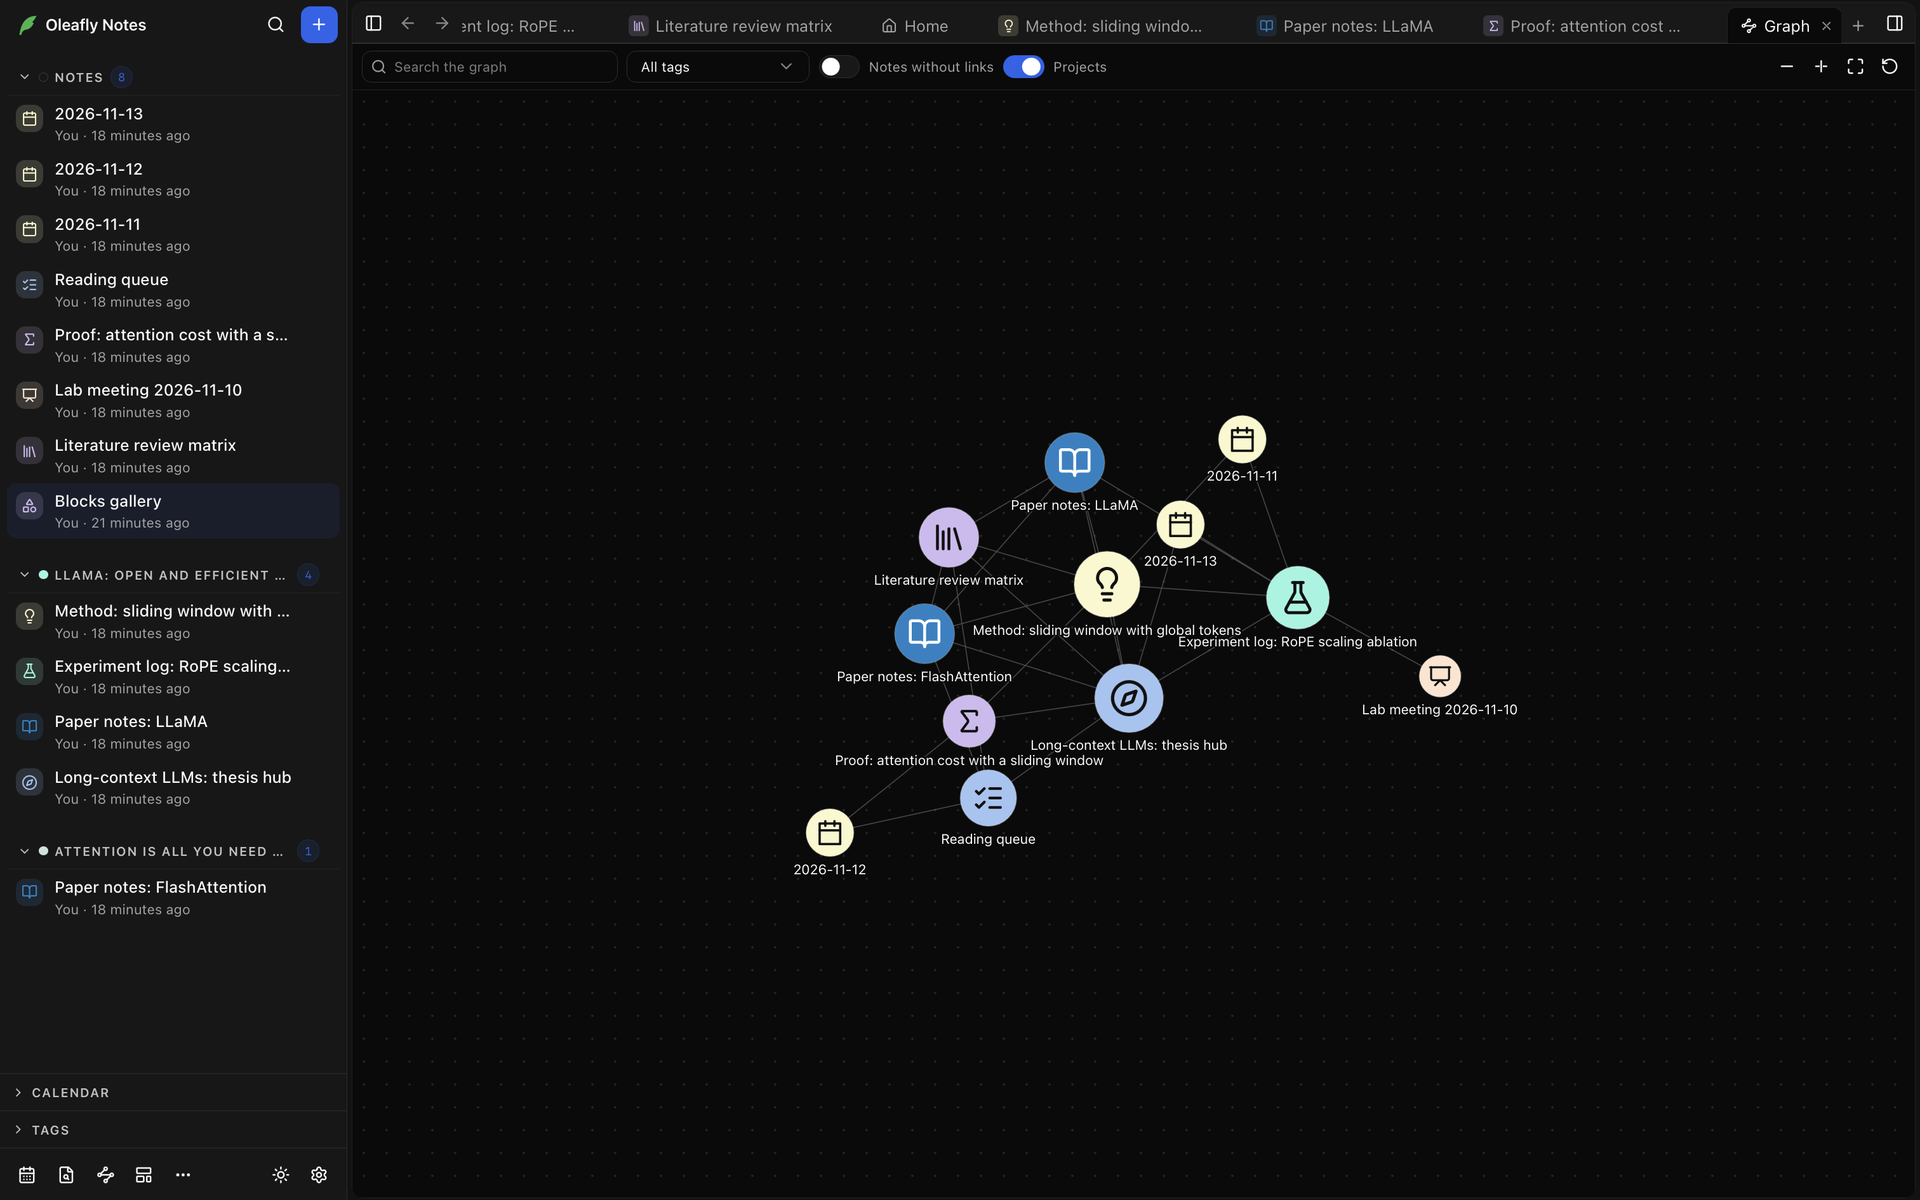
Drag the background to move around, and scroll or pinch to zoom. Drag a dot to move it. The graph keeps its layout for the next time you open it.
To use the keyboard, click in the graph or Tab to it. The arrow keys step from note to note in title order, Enter opens one, + and - zoom, and 0 fits the whole graph.
Local graph
Section titled “Local graph”Click Show local graph in a note’s header, or press ⌘⌥G (Ctrl+Shift+M), to see the note and the notes linked to it in a side panel. Depth reaches 1 step or 2 steps out, and Projects adds the linked projects. The local graph follows the note you’re working in.
Click a note in the local graph to show it in place of the current note. Back takes you to the note you were on. ⌘-click it (Ctrl-click on Windows and Linux) to open it in its own tab.
Outline
Section titled “Outline”Click Show outline in a note’s header, or press ⌘⌥O (Ctrl+Shift+K). The outline lists the note’s headings, nested by level, and updates as you type. Click a heading to scroll to it. The heading you’re reading is highlighted. Fold a heading’s subheadings with its arrow. Heading levels limits the list to Up to H1 through Up to H5, or shows All levels.
The Outline menu in a note’s formatting toolbar lists the same headings for a quick jump.
Dead links
Section titled “Dead links”More → Dead links in the sidebar footer opens a tab of links that point to a note or block that no longer exists, under Missing notes and Missing blocks. Click an entry to go to the link. The buttons beside it create the missing note (Create note), point a block link at its note instead (Link to … instead), or remove the link (Remove link).
Shortcuts
Section titled “Shortcuts”Every Notes shortcut, with its Windows and Linux keys, is in Keyboard shortcuts. Change them on the Notes tab of Settings → Keyboard Shortcuts.